

A successful pre-listing plan starts with the repairs buyers are most likely to notice or investigate—not the most expensive upgrades. Learn how to sort urgent fixes from optional improvements, set a realistic budget, and price your Bay Area home with its condition in mind.
Start With the Home You Have
Before choosing paint colors or ordering new countertops, walk through your home as a buyer might. Look at the front approach, open every door, turn on the lights, and notice where a small defect draws attention. A thoughtful repair plan can make the home easier to present and help reduce surprises during negotiations, without turning the weeks before listing into a full-scale renovation.
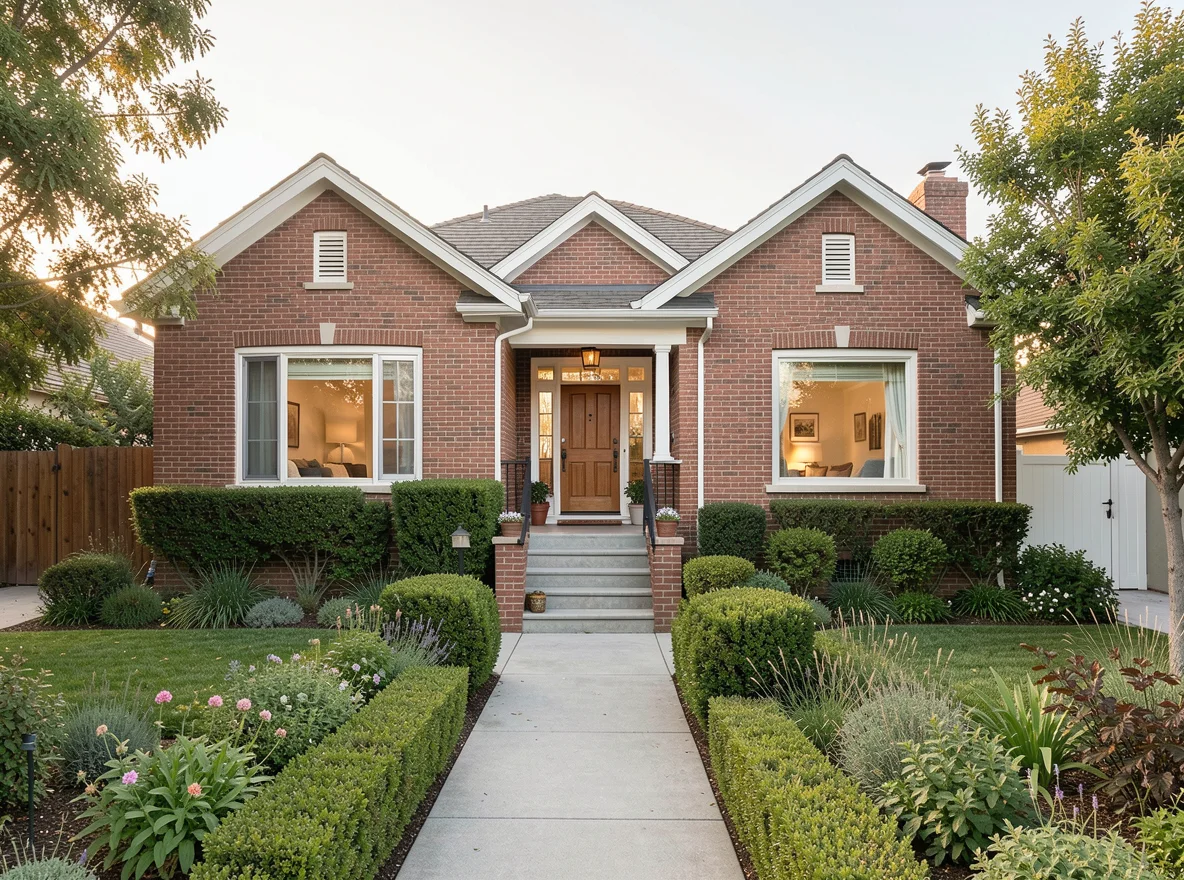
Make a list room by room, separating issues into three groups: items that may affect safety or function, visible wear, and improvements that are primarily cosmetic. A dripping faucet and a damaged stair rail belong in a different conversation from a dated but functional cabinet. This first pass gives you a practical starting point for discussing the property with your agent and any qualified contractors.
Bay Area homes vary considerably in age, construction, and condition, so the right list is specific to the property. Older features may be part of a home’s appeal, while deferred maintenance can raise questions about what else needs attention. The goal is not to make every home look new; it is to present it honestly and help buyers understand what they are considering.
Separate repairs that restore function from upgrades that simply change the look. That distinction makes it easier to protect your preparation budget.
Prioritize Problems That Can Complicate a Sale
Start with active leaks, moisture intrusion, damaged roofing, electrical concerns, and heating or plumbing problems. These issues can affect a buyer’s confidence and may surface during inspections. Have qualified professionals assess the cause before making cosmetic repairs; painting over a water stain without addressing the source does not solve the problem.
Next, consider items that affect everyday use or raise obvious questions during a showing: a window that will not open, a loose handrail, a sticking exterior door, or a garage door that does not operate reliably. Not every defect requires a major project, but a home that functions as expected is easier to evaluate. Keep invoices, warranties, and any relevant permits or inspection records organized so you can share accurate information when appropriate.
A pre-listing inspection can be useful when you want a clearer picture before setting a price or scheduling contractors. It can also reveal issues you did not expect, so discuss the timing and potential disclosure implications with your agent first. An inspection is not a guarantee that a buyer’s inspector will find the same things, but it can help you make decisions with better information.
Choose the Right Professional for the Work
Get estimates that describe the scope, materials, schedule, and payment terms. For work that calls for a licensed contractor or a permit, verify requirements with the relevant local building department and check the contractor’s credentials. Avoid promising that a repair has resolved an issue unless you have a reasonable basis for saying so.
Spend Where Buyers Can See the Difference
Once functional concerns are addressed, focus on relatively modest improvements that make rooms feel cared for. Fresh paint in a neutral tone, repaired cabinet hardware, clean windows, and consistent light bulbs can help a home photograph and show more clearly. The best choices depend on what is already there and how the home compares with competing listings.
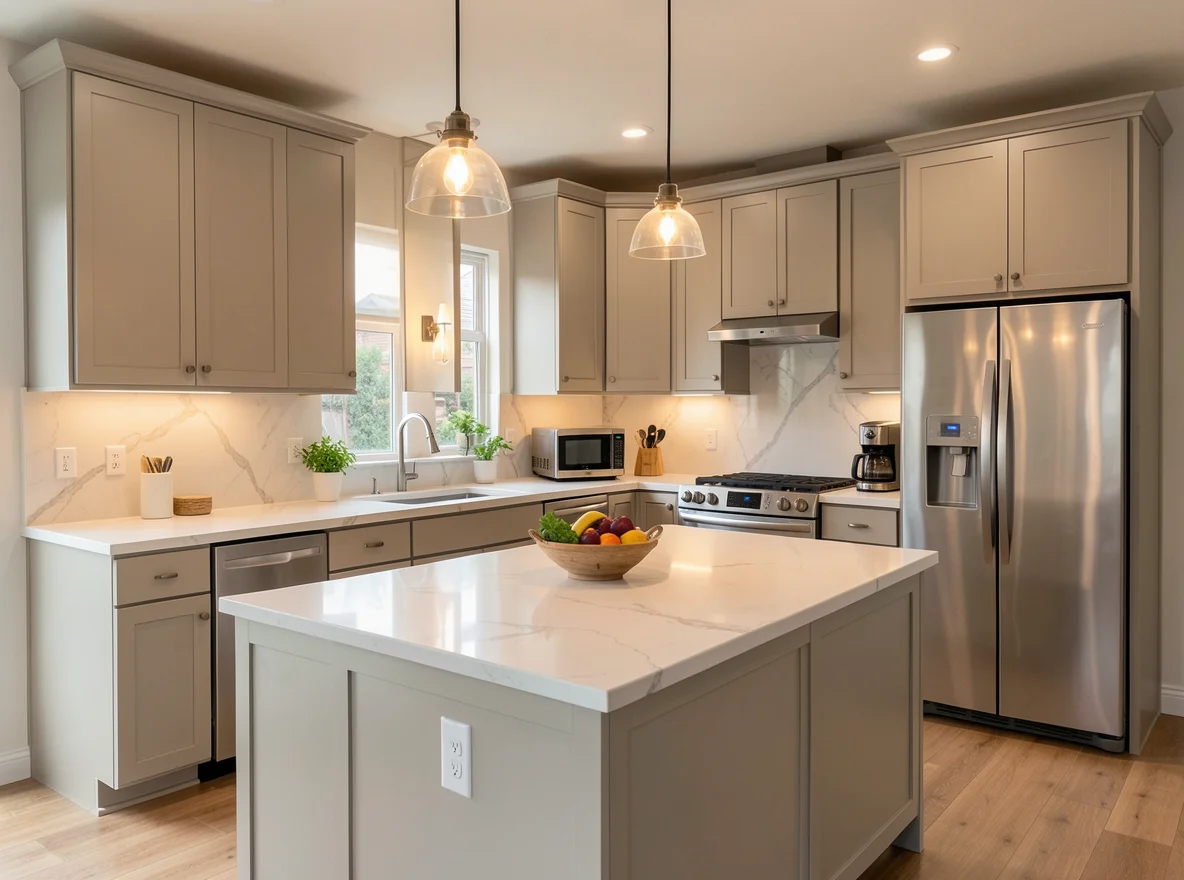
In kitchens and bathrooms, cleaning grout, fixing a loose fixture, and replacing damaged caulk may do more for presentation than an expensive redesign. If cabinets and appliances work well but show their age, ask whether a smaller refresh makes sense for your likely price range. A major remodel can be disruptive, and its cost is not guaranteed to be recovered in the sale.
Outside, clear the walkway, tend overgrown plants, repair visible damage at the entry, and make sure exterior lighting works. These details give buyers a more complete first impression before they step inside. You do not need elaborate landscaping; a maintained approach and an accessible path let the property speak for itself.
For each optional project, ask three questions: Will buyers notice it? Does it address a concern that might affect an offer? Can it be completed before photography without stretching the budget? If the answer is uncertain, compare the cost with the alternative of selling as-is and pricing accordingly.
Build a Budget and a Workable Timeline
Request more than one estimate for substantial work when practical, and set aside a contingency for unexpected findings. Consider not just the contractor’s price but also materials, permits, cleaning, and the time a project may add to your schedule. Some improvements can happen concurrently; others, such as addressing a leak before repairing drywall, need to happen in sequence.
Plan backward from your intended listing date. Allow time for estimates, contractor availability, any required inspections, finishing work, cleaning, staging, and photography. If a repair threatens to delay your sale significantly, discuss whether completing it, offering a credit where appropriate, or adjusting the asking price is the better fit. Any credit and its terms are subject to negotiation and the buyer’s financing requirements.
Schedule photography after repairs, cleaning, and staging are complete. A rushed photo session can put unfinished details in front of buyers before the home is ready.
Explore your home-selling options
Stage for Clarity, Then Price for Reality
Staging helps buyers see the layout, natural light, and usable space. Remove excess furniture, clear frequently used surfaces, and give each room an understandable purpose. Clean thoroughly, including baseboards, windows, and floors. A few well-placed furnishings can help photography, but a staged room should never distract from a known condition issue.
Pricing is a separate decision from what you spent preparing the home. Review recent comparable sales and current competition with your agent, paying attention to location, size, condition, and the timing of each sale. A repaired home may compare differently from one that needs work, but there is no automatic dollar-for-dollar return on improvements. Market conditions can change, so revisit the evidence close to launch.
Be candid about the property’s condition. California sellers may have statutory disclosure obligations, and the details depend on the transaction and applicable exemptions. Discuss required forms and known defects with your agent, and consult a qualified professional when you need legal or technical advice. Repairs do not necessarily eliminate the need to disclose an underlying issue or its history.
A good pre-listing plan is a series of informed choices, not a race to renovate everything. With a clear repair list, a realistic budget, and pricing grounded in comparable properties, you can bring your home to market prepared for the conversations that follow.